Key takeaways
- Identify dining chair glides by model, attachment and measured shape before ordering. Includes a parts request worksheet and a comparison example.
What's inside
To order a replacement dining chair glide, identify the chair and the attachment before measuring the visible foot. A round pad of the right diameter can still be the wrong part if its stem, thread, mounting surface or intended floor differs. Treat measurements as supporting information for the supplier, not permission to fit a near match.
This guide creates a parts request. It does not diagnose a rocking chair or provide instructions for drilling, pulling out fasteners or repairing a joint. If the chair is unstable or damaged, set it aside and ask the maker about that condition separately.
Find the chair identity and original part reference
Start with the receipt, model label and assembly document. Record the complete chair code and any revision information available. A collection name alone may cover several leg designs. Photograph the whole chair so the supplier can see the configuration, then photograph the accessible label without dismantling the furniture.
IKEA’s missing-parts guidance illustrates a useful distinction: some small parts have a six- or eight-digit code in the assembly instructions, while unnumbered parts require help from customer service. That process does not establish that a particular chair glide is available or interchangeable. Use the actual diagram for your chair.
Describe what attaches the glide
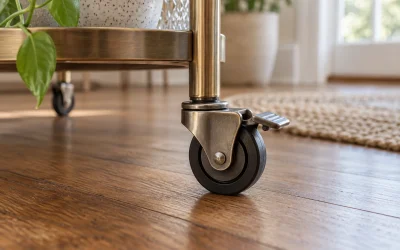
Without removing anything, note whether the visible part appears to be a flat pad, a cap around the leg, a plug inside a hollow leg or an adjustable foot. If the attachment is hidden, write “not visible.” Do not pull out a sound glide merely to discover how it is held.
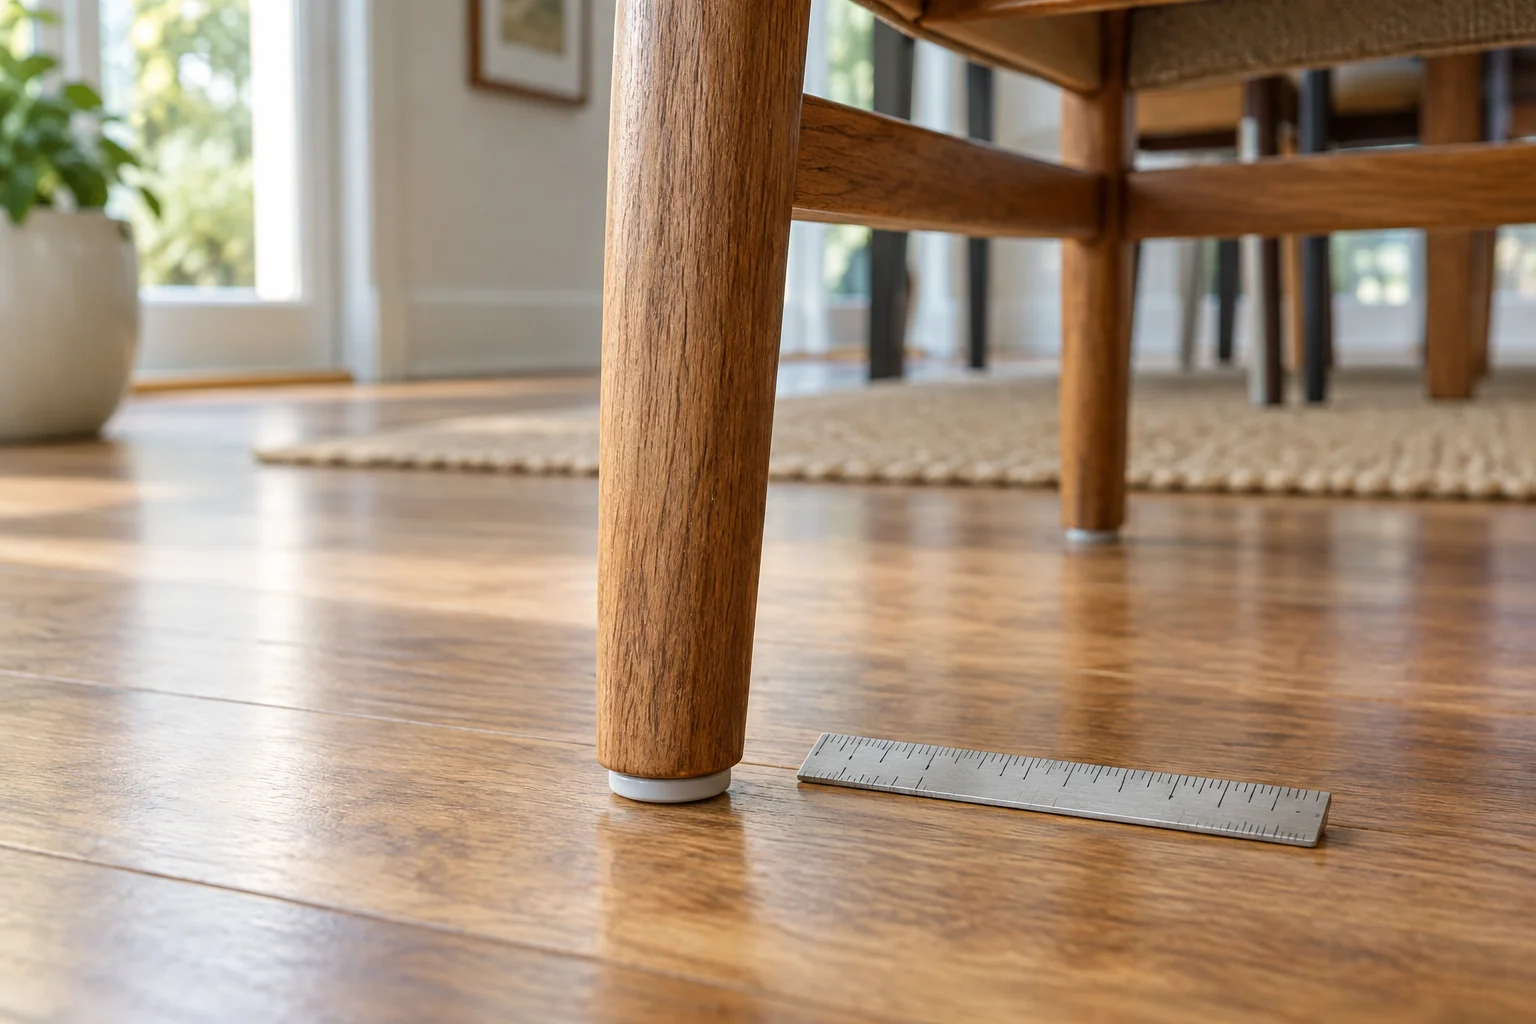
Photograph the side and floor-contact face only when the chair can be supported safely in the manner its instructions permit. Do not balance a heavy chair on a table or reach beneath unsupported furniture. A supplier may be able to identify the part from the model and an ordinary low-angle photograph.
| Field | What to send | What remains uncertain |
|---|---|---|
| Chair | Model, label photograph, purchase record | Revision or discontinued version |
| Part | Diagram reference and any visible code | Current replacement number |
| Shape | Round, oval, rectangular or shaped foot | Hidden attachment profile |
| Dimensions | Width and depth with units and measuring points | Stem or thread dimensions if inaccessible |
| Location | Front or rear leg and quantity needed | Whether positions use different parts |
| Floor | Actual floor covering and finish information | Permitted contact material |
Measure the part you can actually see
Place a ruler beside the visible foot in the same plane as the dimension being recorded. Take one photograph for width and another for depth if the shape is not round. Keep the ruler’s zero point and both edges visible. A ruler far behind the foot creates a misleading comparison because of perspective.
Record units every time. If the edge is worn or rounded, note that limitation instead of inventing a precise value. Distinguish the glide’s outside width from the wooden leg’s width. For a cap, those are separate dimensions; for an insert, the visible flange says little about the concealed portion.
Do not identify a screw thread from its approximate outside width alone. Thread pitch and the mating fitting matter, and this worksheet does not provide a thread-conversion chart. Ask the manufacturer for the part number when the required dimensions cannot be obtained without unauthorized removal.
Example: the same visible width, different replacements
Imagine two fictional chairs with round feet that both appear about 25 mm wide. One has a flat adhesive protector on a wooden leg. The other has a molded plug in a hollow metal leg. The visible diameter is similar, but the attachments perform different jobs.
The owner of the second chair sends the chair model, a side photograph and the approximate flange width. The supplier confirms the specific plug reference. The owner does not order the first 25 mm pad found online and does not assume that adding a pad will repair a damaged plug. The measurement helped identify a question; the documented part match answered it.
Confirm what the replacement includes
Ask whether the quoted item is the entire glide assembly, a replaceable contact surface or a set containing several pieces. Check the quantity per pack and whether the front and rear legs use the same component. A photograph showing four glides does not necessarily describe the quantity sold.
Ask for the installation instructions and whether the owner is intended to perform the replacement. Also identify any floor restrictions. A chair-part match and a floor-care match are two separate checks; neither should be inferred from a seller calling a product universal.
Keep the confirmed reference
Save the supplier’s written answer, the replacement code and the chair model together. On arrival, compare the packaging and part reference with that answer before fitting anything. If the shape or attachment differs, stop and send photographs rather than modifying the chair to accept it.
The useful outcome is a traceable parts request with clear dimensions and visible uncertainties. It avoids buying by diameter alone and gives the supplier enough information to distinguish a missing floor protector from a different furniture problem.