Key takeaways
- Check a replacement dining chair pad against the seat outline, fasteners and table clearance. Includes a fit worksheet and measured example.
What's inside
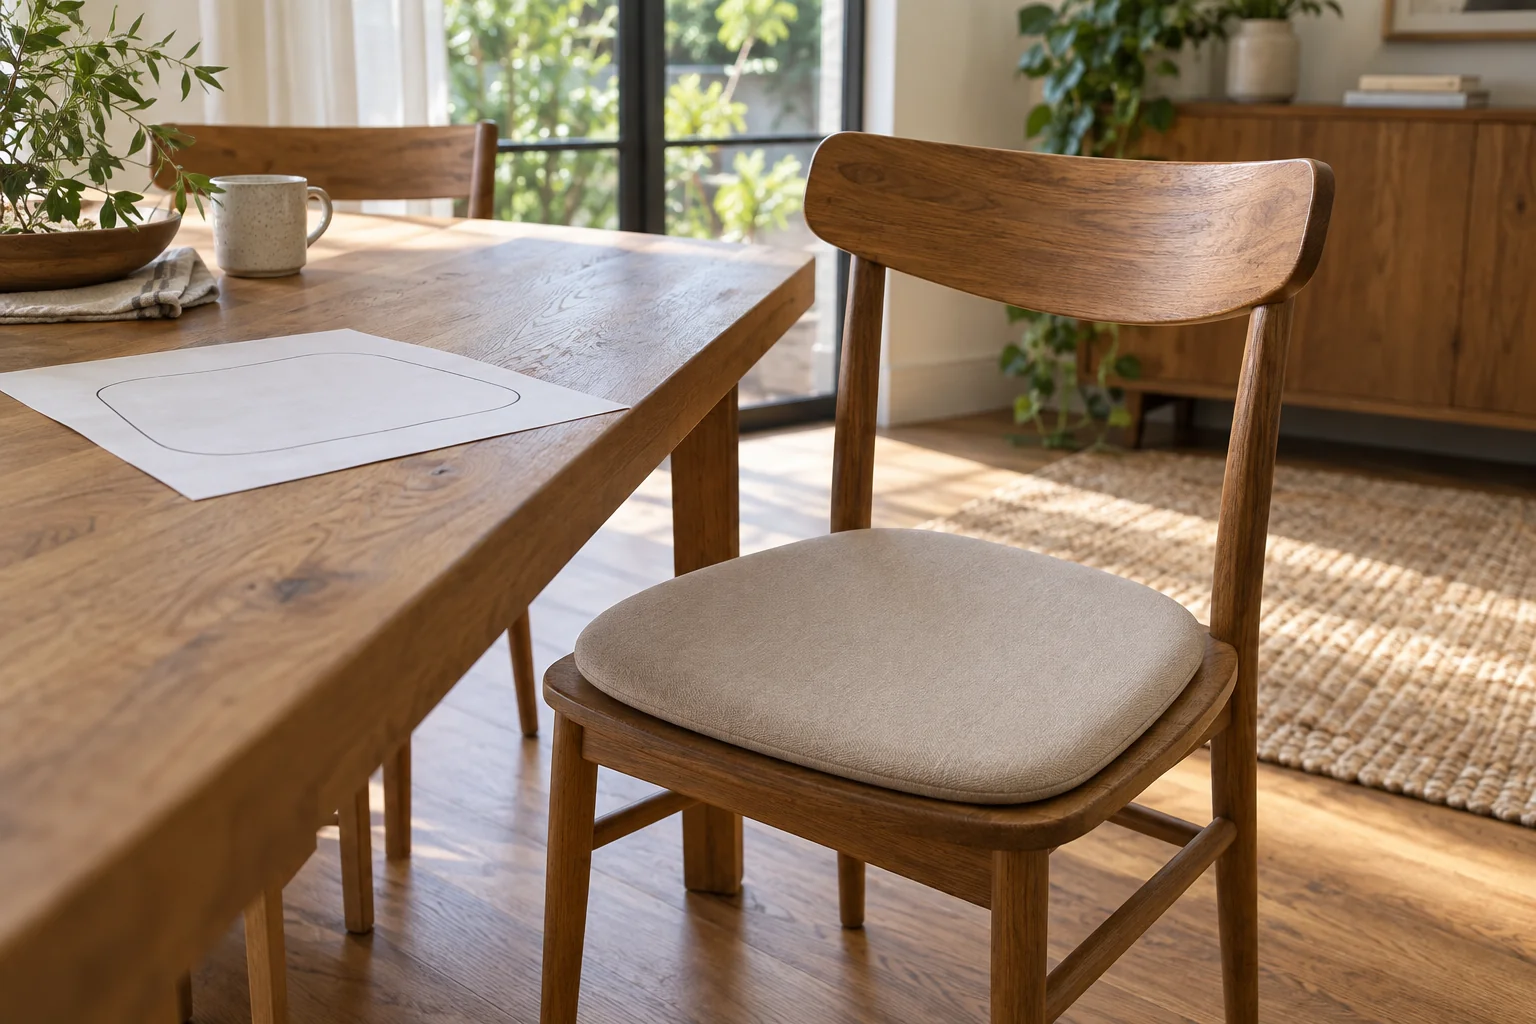
A replacement dining chair pad needs to match the usable seat outline, its attachment points and the way you sit at the table. A single width measurement cannot establish that fit. First decide whether you are replacing a loose cushion or a structural upholstered seat: these are different purchases.
This guide concerns removable pads placed on an intact chair seat. If the seat board, mounting holes or frame is damaged, a loose cushion is not a repair. Obtain the chair maker’s replacement component or appropriate repair advice before continuing to use it.
Start with the pad type
Photograph the chair without its old loose pad. Note whether the seat narrows toward the back, has rounded corners, curves upward at the sides or includes a gap near the backrest. A rectangular product photograph may conceal a tapered pad, while a nominally square chair seat may have less usable space between its rear posts.
Record whether the original pad uses ties, straps, hook-and-loop tabs or a backing specified by the maker. The replacement should have a compatible means of staying in position. Do not assume a pad can be secured merely because its outline fits, and do not add an adhesive or grip sheet without checking compatibility with the chair finish.
As a concrete example, IKEA’s JUSTINA pad, article 101.750.04, lists minimum and maximum widths of 35 and 42 cm, a depth of 40 cm and thickness of 4 cm. It has hook-and-loop fasteners and names specific compatible chairs. Those details demonstrate why a listing needs more than one size number; they do not establish compatibility with every similarly sized chair.
Trace the usable seat, not its widest outside edge
Place plain paper on the empty seat without attaching tape to the finish. Mark the usable front edge, rear edge, corners and any posts that intrude. Label front and back immediately. If several sheets are needed, join them away from the chair, then lay the template back down to check its shape.
Measure across the front, across the rear and from front to back through the center. Also note the distance between fastening points. Keep dimensions in one unit and label each line; a loose note saying “40” will be ambiguous when you later compare depth and rear width.
| Fit question | Chair record | Replacement evidence |
|---|---|---|
| Front and rear outline | Two widths and corner shape | Dimensioned drawing or template |
| Usable depth | Front edge to back obstruction | Pad depth in intended orientation |
| Attachment | Accessible rails or posts | Fastener position and usable reach |
| Seating height | Existing seat and table relationship | Thickness plus a real fit check |
| Routine care | Household washing and drying options | Instructions for the whole pad |
Use a paper comparison before ordering
Transfer the proposed pad outline to another sheet. If the seller provides only a maximum width, mark the missing rear width as unknown rather than inventing a taper. Overlay the two templates and look for unsupported corners, contact with rear posts and excessive projection beyond the front of the chair.
Here is an illustrative comparison, not a tested product recommendation. A chair has a usable front width of 44 cm, rear width of 36 cm and depth of 41 cm. A proposed tapered pad measures 42 cm at the front, 35 cm at the rear and 40 cm deep. The total width differences are 2 cm at the front and 1 cm at the rear. Centered placement would leave approximately 1 cm and 0.5 cm on each respective side.
That arithmetic supports an outline check only. Rounded corners, seat curvature and fastener location still need confirmation. A second pad measuring 42 cm across both front and rear would extend beyond this chair’s usable rear width even though both listings advertise a 42 cm width.
Check attachment without improvising a new system
Ask where the fasteners emerge and what chair parts they are intended to reach. A strap positioned for an open wooden back may not work on a fully upholstered chair. Avoid ordering on the assumption that short ties can be stretched around a wide post.
When a sample arrives, follow its attachment instructions and check that all intended connections are properly engaged. Keep straps away from moving joints. If the pad shifts in ordinary use despite correct fitting, contact the seller rather than compensating with a stack of extra cushions.
Evaluate the table relationship and care route
Thickness is not the same as the occupied seating height: different fillings compress differently. Check the actual pad at the table when a returnable sample or showroom demonstration is available. Confirm that it does not create unwanted contact beneath the apron or force an awkward sitting position. Do not infer comfort from foam thickness alone.
Read the complete care instructions before deciding the replacement is convenient. A washable outer fabric does not establish that its filling, ties or assembled pad can take the same treatment. Keep the article number and care document with your order record.
Finish with a short acceptance note: outline matches, attachments work, chair remains sound, table relationship is acceptable, and care is practical. Any unresolved item should remain a question for the seller. This record makes buying the remaining matching pads more reliable than repeating a size estimate from memory.