Key takeaways
- Describe a dining table leaf gap or step with a two-configuration worksheet and photos before seeking model-specific adjustment or service advice.
What's inside
A dining table leaf that looks uneven needs a careful description before it needs an adjustment. A gap between edges, a vertical step at the joint and an upward curve across the whole top are different observations. Record where the problem appears, whether it also appears with the table closed and whether the correct leaf is installed. Do not force a joint closed to make it look better.
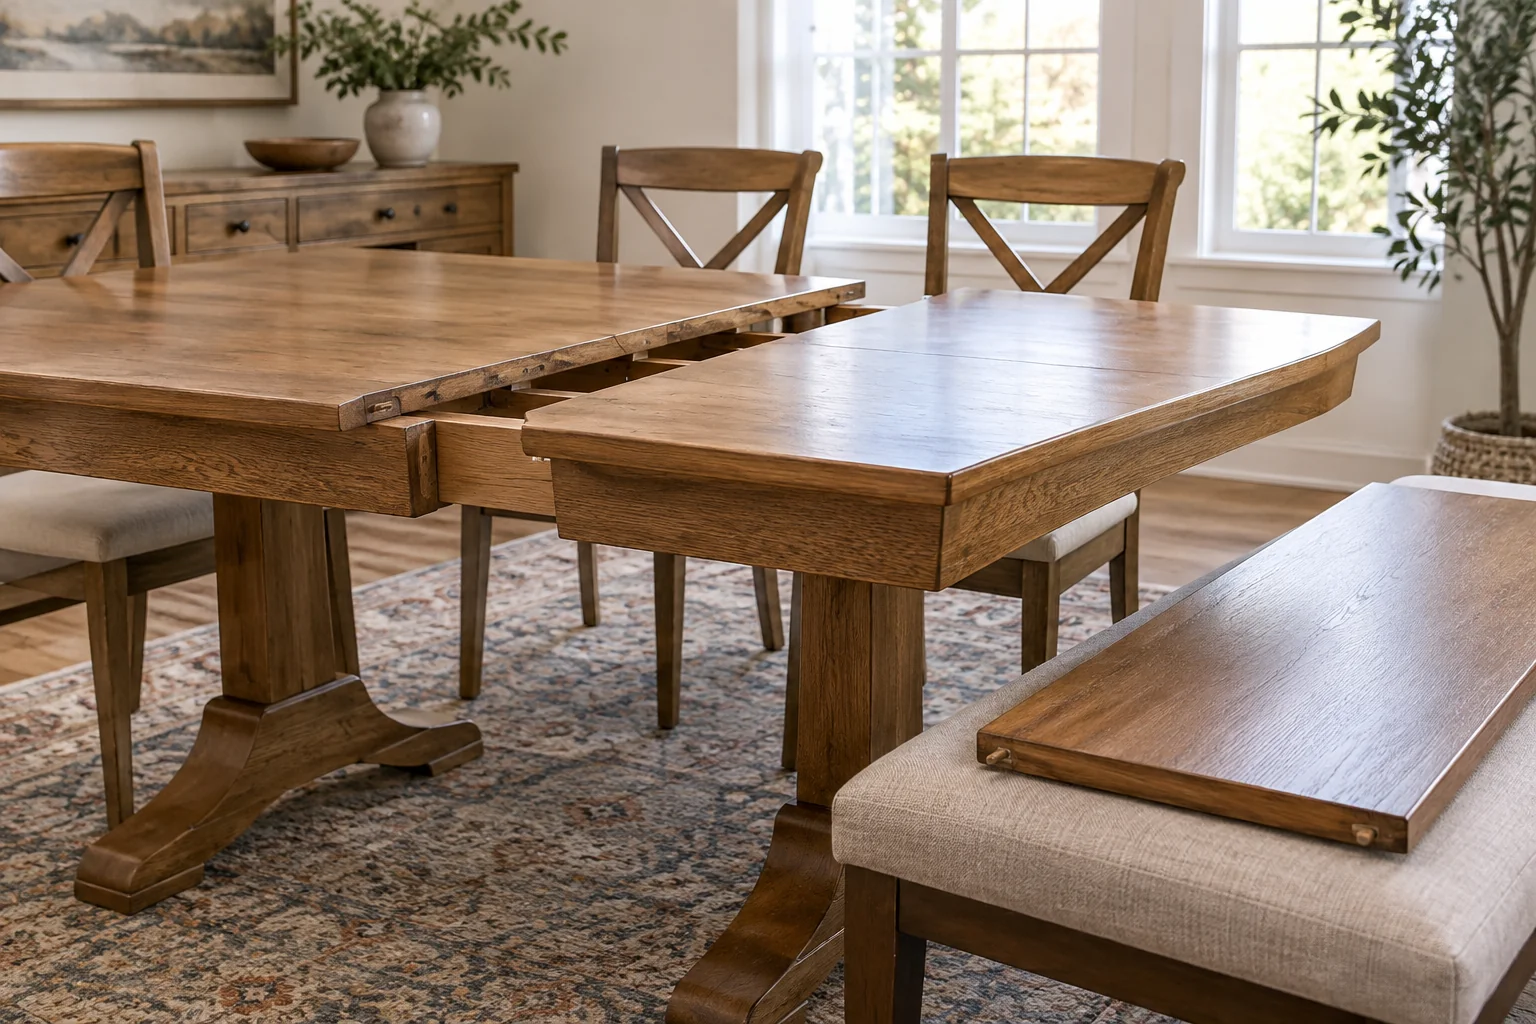
This inspection worksheet helps you explain a concern to the seller or manufacturer. It does not establish an acceptable gap for every table, diagnose a warped leaf or provide a repair procedure. Table construction, extension hardware and intended support arrangements differ.
Identify what looks wrong
Start with an empty table in its normal location. Remove the cloth so the joint is visible. Observe from above and from table height without crawling beneath an unsupported mechanism. Keep fingers away from pinch points when anyone operates the table. Use the number of people and opening sequence specified in its instructions.
- Horizontal gap: daylight or a visible opening between the leaf and adjacent top.
- Vertical step: one edge appears higher than its neighbor.
- Uneven perimeter: the outer edges do not follow the same outline.
- Movement: the table rocks, a leaf moves or the supported top shifts during ordinary use.
Movement, loose supports or visible damage warrants stopping use and contacting the supplier. Do not load the table with heavy objects as a test. A photograph of a seam cannot prove that its support system is secure.
Confirm the leaf belongs to this table
Find the model label, order confirmation and assembly diagram. If there are several leaves, record each identifier and its prescribed position. A matching finish does not prove matching pins, hardware or dimensions. Check orientation against the diagram before making another attempt to close the top.
Note whether the issue began at delivery, after moving the table or after taking a stored leaf out. That history helps a technician choose the next inspection. It does not prove the cause. Avoid filing pins, enlarging holes, swapping screws or loosening slides based on a general online suggestion; those changes can erase useful evidence and create a different problem.
Make a two-configuration inspection record
| Observation | Closed table | Correctly extended table |
|---|---|---|
| Table and leaf identifiers | Record table model | Record each leaf and position |
| Location and supports | Floor, rug and visible foot positions | Any required extension supports present |
| Joint appearance | Gap or step, with location | Left and right leaf joints separately |
| Outer edge alignment | Top outline viewed from above | Where any offset begins and ends |
| Operation | Normal closure or resistance | Where movement stops; do not force it |
| Evidence | Wide photo and joint close-up | Same camera angles for comparison |
Use descriptive locations such as “window side, left leaf joint” instead of “the bad corner.” A removable label on your sketch is enough; do not stick tape to a finish unless the maker permits it. If you include a ruler in a photograph, hold it nearby without pressing it into the joint or dragging it across the top.
Separate a local step from the overall shape
A long straight object laid across a top can appear to reveal a fault, but interpretation depends on the design. Stickley’s care guide describes upward shaping in some extension-table designs and lift at the ends of pedestal tables with equalizing slides. That is a reason to ask about your exact construction, not a reason to dismiss every uneven joint as normal.
Ask the manufacturer whether the observed shape is expected with your leaf count and support arrangement. Request its inspection method and acceptance criteria. Do not import a numeric seam tolerance from a different brand or assume that a closed table must have the same profile as an extended one.
Worked example: a useful service request
In this illustrative case, the closed table appears aligned. With its single labeled leaf fitted in the documented orientation, the window-side joint has a visible step near one end while the opposite joint appears even. There is no measurement of load capacity and no attempt to tighten hardware.
A useful message reads: “Model A, supplied leaf B, assembled following diagram 4. The closed top looks aligned. In the extended position the window-side joint has a step at the doorway end. Attached are the closed and extended wide views, leaf label and joint close-up. Please confirm the intended alignment and the next approved inspection.” This gives the supplier a repeatable observation without claiming a diagnosis.
Preserve the condition until you receive advice
Keep the original photographs and record any authorized follow-up separately. If the table cannot be secured according to its instructions, leave it out of use. Do not conceal an unstable joint under a pad or cloth. Store a removed leaf according to its own care instructions; storage direction and environment are part of the product guidance, not something to infer from another table.
The best outcome of this check is a clear next decision: the maker confirms the observed design, provides a model-specific adjustment, or arranges service or replacement. Your worksheet makes that decision easier without turning a simple inspection into an unverified repair.