Key takeaways
- Plan runner and placemat overlap using table width, mat depth and edge setback, with a worked example and checks for end seats and stable dishes.
What's inside
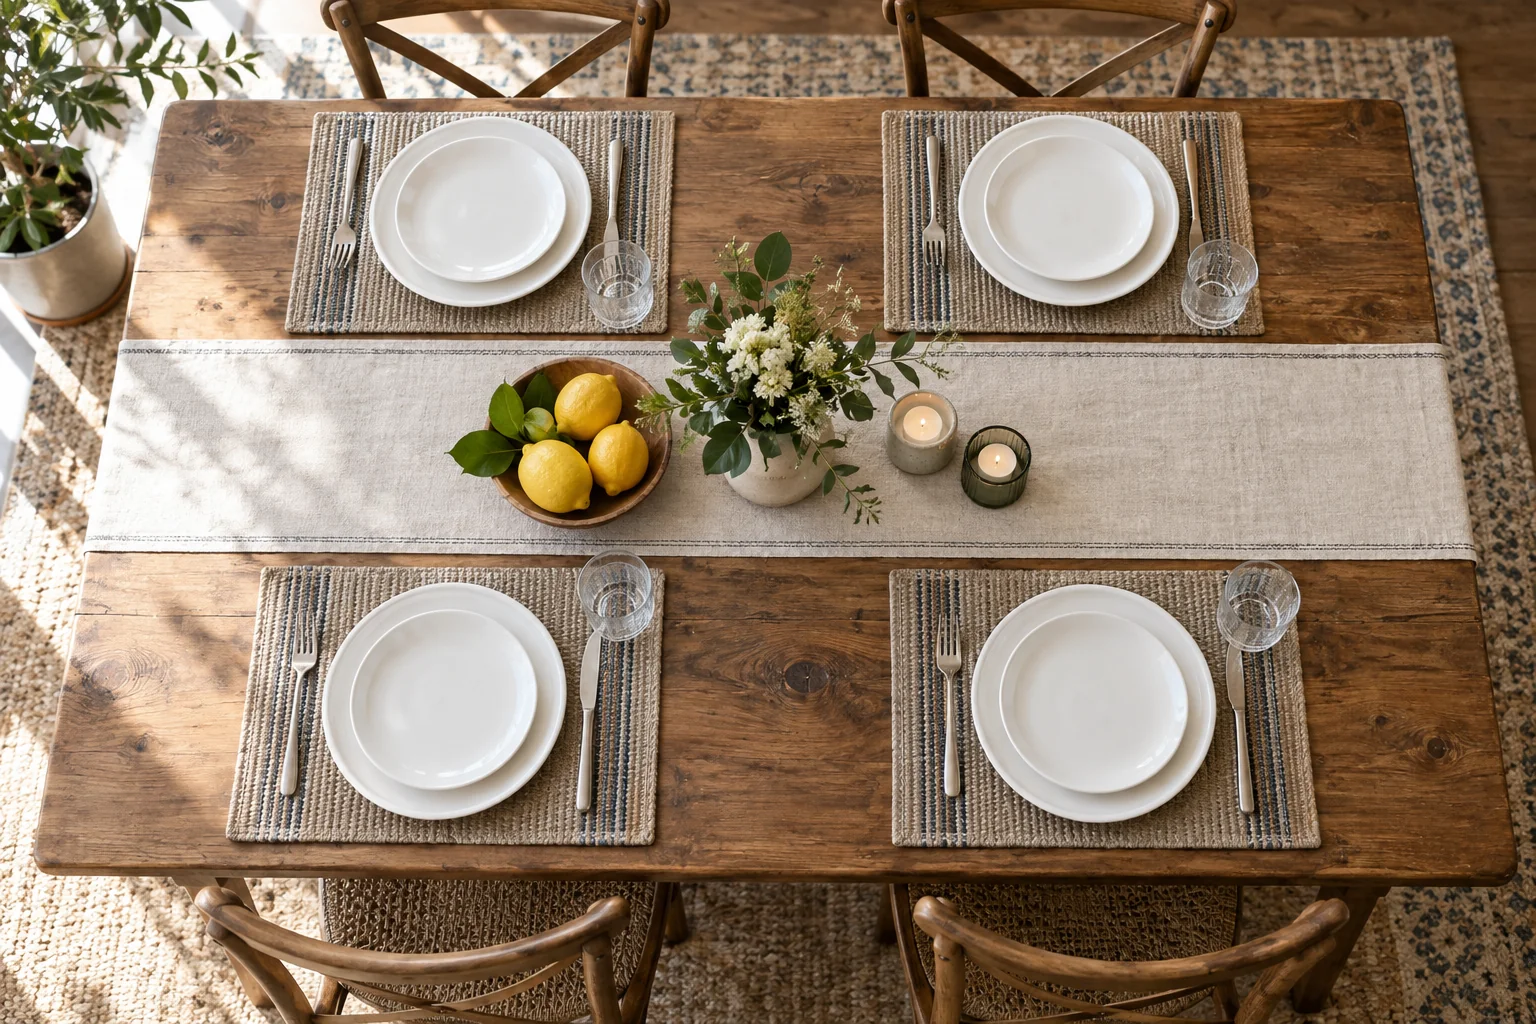
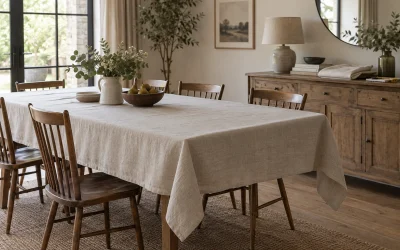
A table runner and placemats can each fit your dining table while overlapping awkwardly when used together. Plan them as one layout: table width, runner width, placemat depth, edge setback and any gap you want between the fabrics. Then check the end seats separately. Matching colors do not guarantee compatible dimensions.
Decide whether overlap is intentional
There is no requirement to leave a gap between a runner and placemats. Some settings deliberately layer them; others keep a strip of tabletop visible. Choose the intended effect before comparing sizes. An accidental overlap is frustrating mainly because it creates a result you did not plan.
Consider the physical result as well as the appearance. A thick bound runner under one edge of a placemat can create an uneven place for a plate or glass. Thin flat layers may behave differently. Try the actual fabrics with your everyday dishes before deciding that a photograph represents a practical arrangement.
The runner is not automatically a heat-protection layer. Follow your tabletop and serving-item guidance for suitable protection, independently of the decorative layout. Do not place hot cookware on a runner merely because it covers the center of the table.
Orient the dimensions correctly
A rectangular placemat has two useful measurements: its width along the table edge and its depth toward the center. Which printed dimension serves which role depends on how you place it. A product labeled 14 by 18 inches could project 14 inches inward when the 18-inch edge faces the diner.
As a concrete sizing example, IKEA lists a SVARTSENAP runner at 14 by 51 inches and a SVARTSENAP placemat at 14 by 18 inches. Those dimensions do not mean the pair fits every table without overlap. Your table and orientation supply the missing information.
Calculate one side strip
For a centered runner on a rectangular tabletop, subtract runner width from table width and divide by two. The result is the tabletop strip available on each side of the runner. Compare that with the placemat depth plus its setback from the outer table edge.
If you want a visible gap between the mat and runner, include that gap too. Keep units consistent. This calculation assumes straight parallel edges and a centered runner; round or strongly curved tables need a physical outline check because the available depth changes along the edge.
Use a setting worksheet
| Input | Record | Why it matters |
|---|---|---|
| Tabletop | Length, width and shape | Defines the usable surface |
| Runner | Width, length and centered or offset | Defines center coverage |
| Placemat | Depth inward and width along edge | Separates overlap from seat spacing |
| Outer setback | Distance from table edge to mat | Uses part of the side strip |
| Preferred gap | Zero, visible gap or planned overlap | Makes the style decision explicit |
| End seats | Mat position against runner end | Catches a separate length conflict |
| Dish stability | Try plates and empty glasses on actual layers | Checks uneven edges or bunching |
Worked example: the missing two inches
Consider a hypothetical 38-inch-wide rectangular table with a centered 14-inch-wide runner. Each side strip is (38 − 14) ÷ 2 = 12 inches. A placemat projecting 14 inches inward cannot fit entirely within that strip, even with no setback from the table edge. It would overlap the runner by two inches.
If the household also wants a one-inch setback from the outer edge, the mat reaches 15 inches inward and the overlap becomes three inches. These figures describe geometry, not a rule against layering. The household can accept the overlap after checking the actual layers, use a shallower mat, use a narrower runner or omit one layer.
For a no-overlap layout with that one-inch setback and a 14-inch-deep mat, the side strip must be at least 15 inches. On the same 38-inch table, a centered runner would therefore need to be no wider than 38 − 30 = 8 inches. Any desired visible gap would reduce that maximum further.
Check length and neighboring settings
The side-strip calculation says nothing about end seats. Lay out those mats separately and note whether the runner ends beneath them, before them or beyond the tabletop. Keep plates and glasses away from a thick fabric transition that makes them rock.
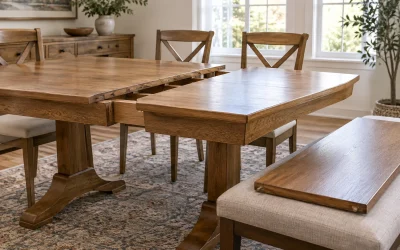
Place neighboring settings at the positions you actually use. Their mat widths, cutlery and glasses may compete even after the runner overlap is solved. Check the table with its usual extension leaves if the runner is intended for hosting, since the end relationships can change while the side strips remain identical.
Keep a layout that is easy to repeat
Photograph the successful arrangement and record which runner, mats and table configuration it uses. Measure the actual textiles again if their dimensions change after care performed according to their labels. A short record saves you from buying another coordinated set that looks right in isolation but needs an unplanned compromise at every meal.