Key takeaways
- Check tablecloth panel joins against your table outline. Request a seam map and compare how the same cloth sits on different table widths.
What's inside
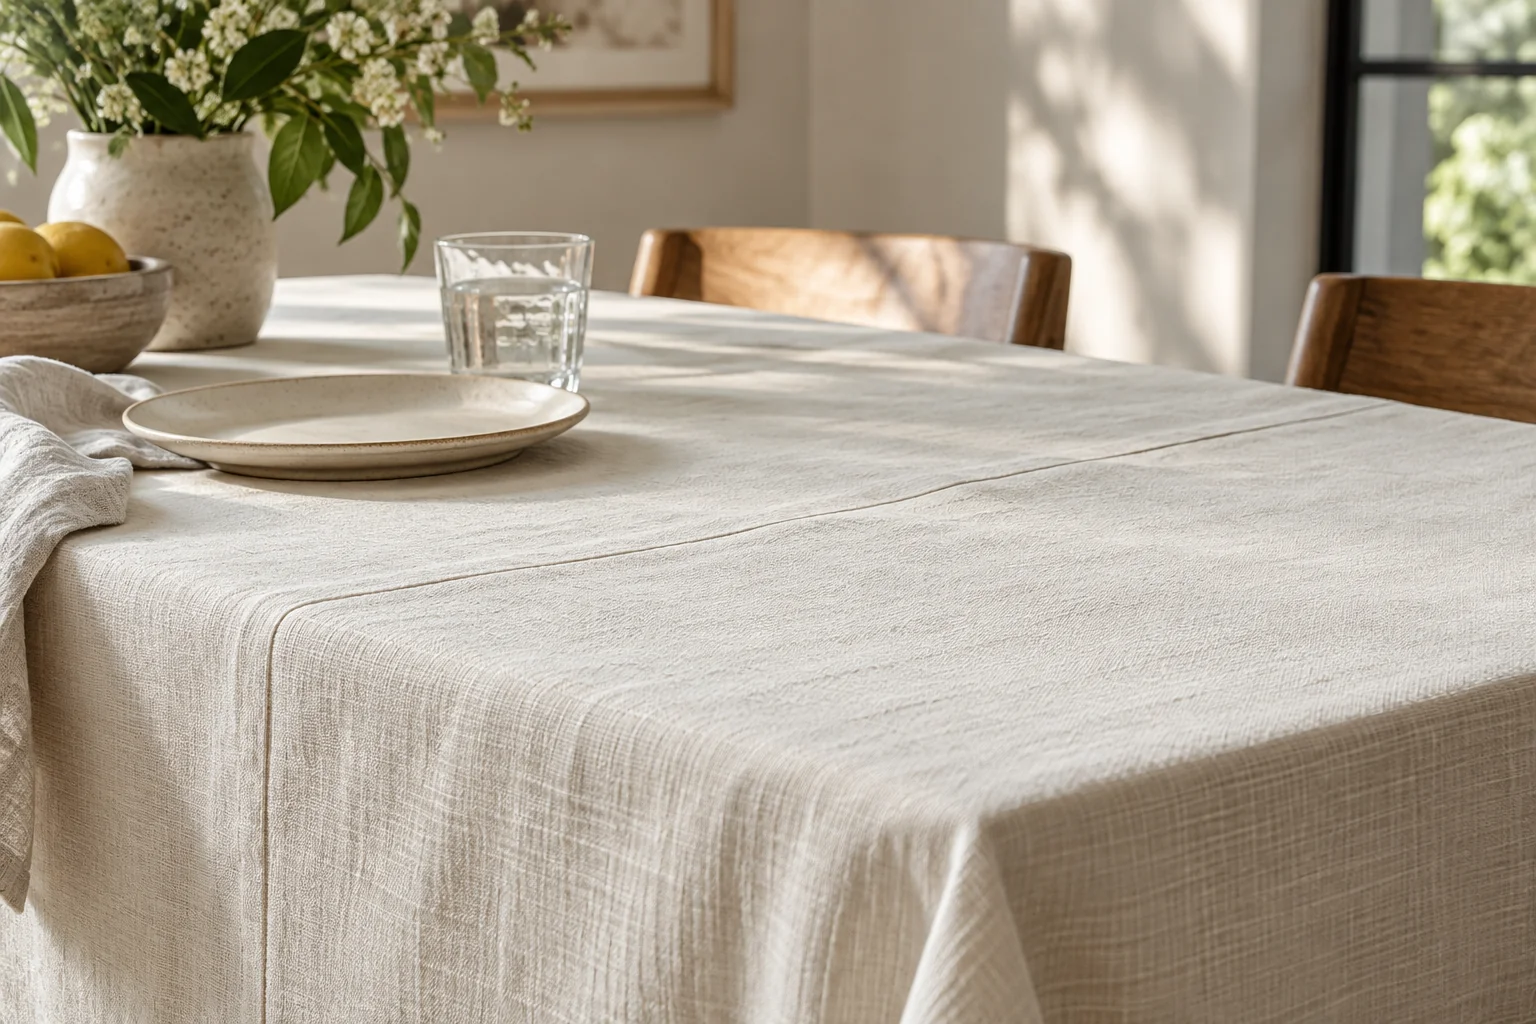
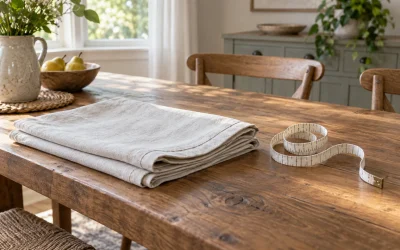
Before ordering a tablecloth with joined fabric panels, ask where those joins will fall on your actual table. A seam near the hanging edge creates a different appearance from one across the tabletop. The cloth’s finished size, seam layout and decorative stitching are separate details.
Find out what seamless means for the selected cloth
A seamless description normally concerns the main fabric panels, not the absence of a finished hem. Ask the supplier to confirm the construction of the exact shape, size and fabric you are ordering. Do not assume that every cloth in a collection uses the same panel arrangement.
Premier Table Linens describes its Poly Premier tablecloths as seamless in all sizes. That is a statement about the named range. It does not establish the construction of another textile, a custom border or a different supplier’s oversized cloth.
For a cloth that does have joins, request a simple flat drawing. It should identify the main panels, each joining line, the finished perimeter and the intended top side. A close-up of the stitching is useful, but it cannot tell you where the seam sits across the complete cloth.
Distinguish three kinds of line
A panel join connects pieces of fabric. A hem finishes an outside edge. Decorative stitching creates a design and may appear in repeated lines even when the main cloth uses one piece. If a listing photograph shows a line, ask which of these it represents before treating it as a construction seam.
Describe the line by position rather than appearance alone. For example, ask whether it runs along the cloth’s length, crosses its width or follows a border. Identify the distance from a named finished edge. An instruction such as seam on the side is ambiguous when the cloth is still lying flat.
Pattern direction adds another question. A join can fall in an acceptable location while a stripe or motif changes direction across it. Ask whether the maker matches the design at joins and what variation is part of the supplied construction. A plain-fabric sample cannot answer that question for a patterned order.
Place the seam drawing over the table outline
Draw the tabletop inside the finished cloth outline using the intended placement. Mark the front of the room and the sides people usually see first. Then transfer the maker’s seam positions. You are checking where a known construction line will appear, rather than trying to design the maker’s sewing process.
| Detail | Useful answer | Placement question |
|---|---|---|
| Panel arrangement | Flat drawing with each join | Which lines cross the tabletop? |
| Reference edge | Named finished edge and distance | Can the position be reproduced? |
| Pattern direction | Orientation on each panel | Will a motif turn or interrupt? |
| Seam finish | Close-up of top and underside | How visible is the join? |
| Custom tolerance | Maker’s permitted position variation | Is a critical location realistic? |
| Table configuration | Ordinary or extended setup | Does the same layout still work? |
A seam location can change when the table changes
Consider an illustrative cloth 90 inches wide with two lengthwise joins, each 20 inches from its nearest side edge. On a 40-inch-wide table with the cloth centered, each side drop is 25 inches. The joins would lie within the hanging portions, five inches beyond the tabletop edges.
Move that same cloth to a centered 60-inch-wide table and the side drop becomes 15 inches. Each join now sits five inches inside the tabletop edge. The cloth did not change; the relationship between its fixed seam lines and the table changed. These figures illustrate position only, not an ideal drop or a recommended seam location.
This is why seam placement should be checked for each intended table. Rotating a rectangular cloth may change the arrangement, but it also changes coverage and pattern direction. Do not assume rotation solves the join position without checking the complete layout again.
Check the actual appearance before setting the table
If you already own the cloth, lay it out on a clear table in its normal use condition. Follow its care label for any pressing; do not raise heat merely to flatten a seam. Examine the join from the seated positions and the normal room entrance, because those are the views that matter to your preference.
Place unbreakable stand-ins where plates or serving pieces will sit. If a seam interferes with the way an object rests, move the setting or discuss the cloth with the maker. Do not conceal an unresolved uneven spot beneath fragile glassware and assume the appearance check has also verified stability.
Write the order around an agreed drawing
For a custom order, attach the marked table and cloth outlines and ask the maker to confirm the seam positions it can supply. Leave sewing construction and allowance decisions to the person making the cloth. Specify the finished result you need without adding unconfirmed panel widths.
Keep the confirmed drawing with the order. On arrival, compare the actual joins with that document before altering or laundering the cloth. A clear seam map makes a discrepancy easier to explain than a general complaint that the cloth looks different from the photograph.